Using YAML
Objectives:
- To be able to explain about YAML concept
- To be able to create YAML for export data in Export Tool
- To be able to demonstrate how to get OSM data in Export Tool using YAML
As explained before, we have learned how to create a customized presets on OpenStreetMap and determine the OpenStreetMap data model to use in the mapping process. In the chapter Using Export Tool, we found the result data attributes only show the attribute from the OSM format. Therefore, you can use YAML to download the OSM data with the specific attribute that will be the same with the OpenStreetMap data model.
I. YAML Concept
YAML (“YAML Ain't Markup Language”) is a human-readable data serialization language. It is commonly used for configuration files, but could be used in many applications where data is being stored (e.g. debugging output) or transmitted (e.g. document headers). We can use to create data structures in YAML format according to tag (key and value) in the OpenStreetMap data model.
II. Creating YAML to Data Filter in Export Tool
a. YAML Structure Data
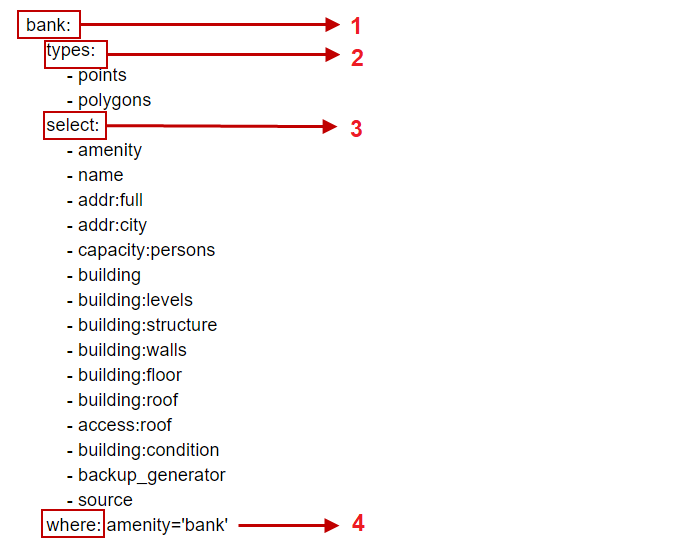
There are 4 sections to define a YAML structure:
- Title = define the name of file
- Types = define the name of mapping, consist of points, lines, and polygons
- Select = define key from OSM data
- Where = define key and value by OSM data to pull up the data
b. Requirements to Creating YAML Structures Data
There are some requirements that important to create the YAML structure:
- All formats are lowercase, Not allow the uppercase
- The position of the title has to put at the beginning of the document. Using the (_) sign to separate the title, an example bank_points
- The position of all formats are equal, an example in the image above
c. Creating YAML
We will create the YAML structure form OpenStreetMap Data Model that you can open the chapter **OpenStreetMap data Model **to refer the lists of OSM data Models that the objects mapped in the project. There are steps to create the YAML:
-
Open the lists OSM data model or you can create a table like below
Bank Tag Information Table
key possible values amenity bank building bank amenity bank name fill the name of bank addr:full detail of address capacity <50, 50-100, 100-250, 250-500, >500 building:levels number building:structure confined_masonry, steel_frame, wood_frame, bamboo_frame building:walls brick, concrete, wood, bamboo, glass building:floor ground, wood, cement, tekhel, ceramics building:roof tile, tin, asbestos, concrete access:roof yes, no building:condition poor, good backup_generator yes, no -
Open Notepad that already on your computer
-
The first line, type the name of title, an example bank
bank: -
The second line, click enter + space four times and typing the types:, and click enter + space eight times + typing - points/polygons/lines, an example
types: - points - polygons -
Click enter on your keyboard and suitable the position with “types:”, and type select: → enter + space eight times and type the lists of the key in the Bank Tag Information Table.
select: - amenity - name - addr:full - addr:city - capacity:persons - building - building:levels - building:structure - building:walls - building:floor - building:roof - access:roof - building:condition - backup_generator - source -
The last step, click enter and suitable position types and select → type where: key dan value
where: amenity='bank' -
If the format was completed, you can save the format in .txt file in your computer.
bank:
    types:
        - points
        - polygons
    select:
        - amenity
        - name
        - addr:full
        - addr:city
        - capacity:persons
        - building
        - building:levels
        - building:structure
        - building:walls
        - building:floor
        - building:roof
        - access:roof
        - building:condition
        - backup_generator
        - source
    where: amenity='bank'
III. How to Using YAML in Export Tool
a. Login with OSM account
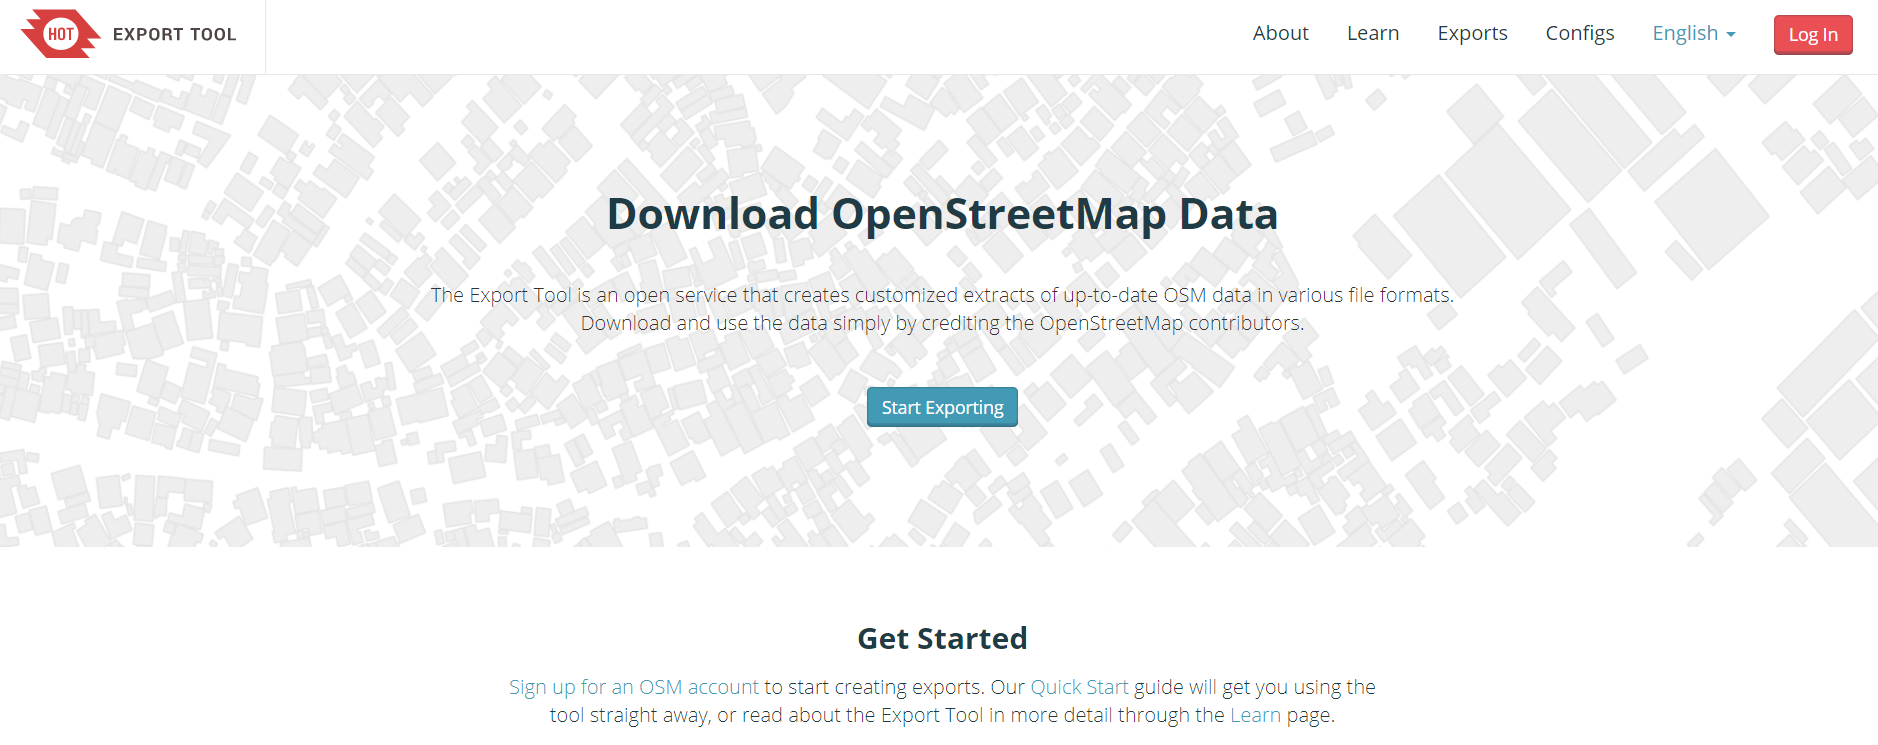
- Open your browser, and type this link https://export.hotosm.org
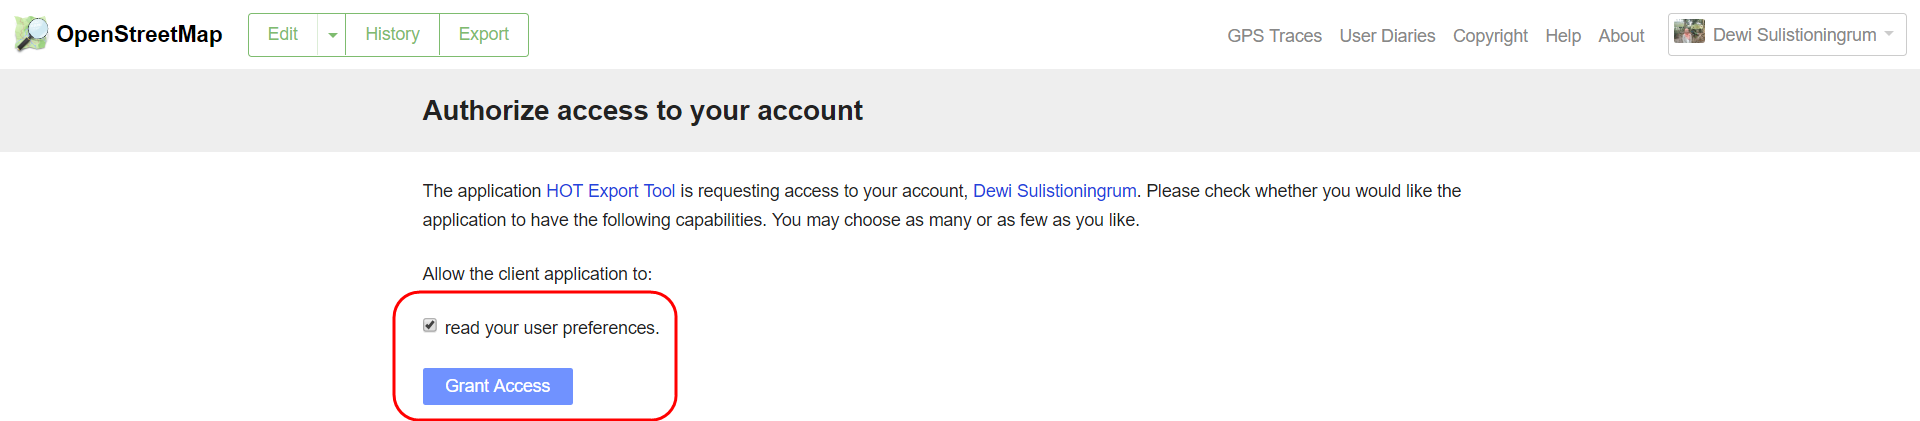
- The first we have login with your OSM account to using Export Tool. Click on Login in the right corner. The next click on ‘Authorize access to your account’ → Grant Access.
- To create a new project in Export Tool click on Start Exporting
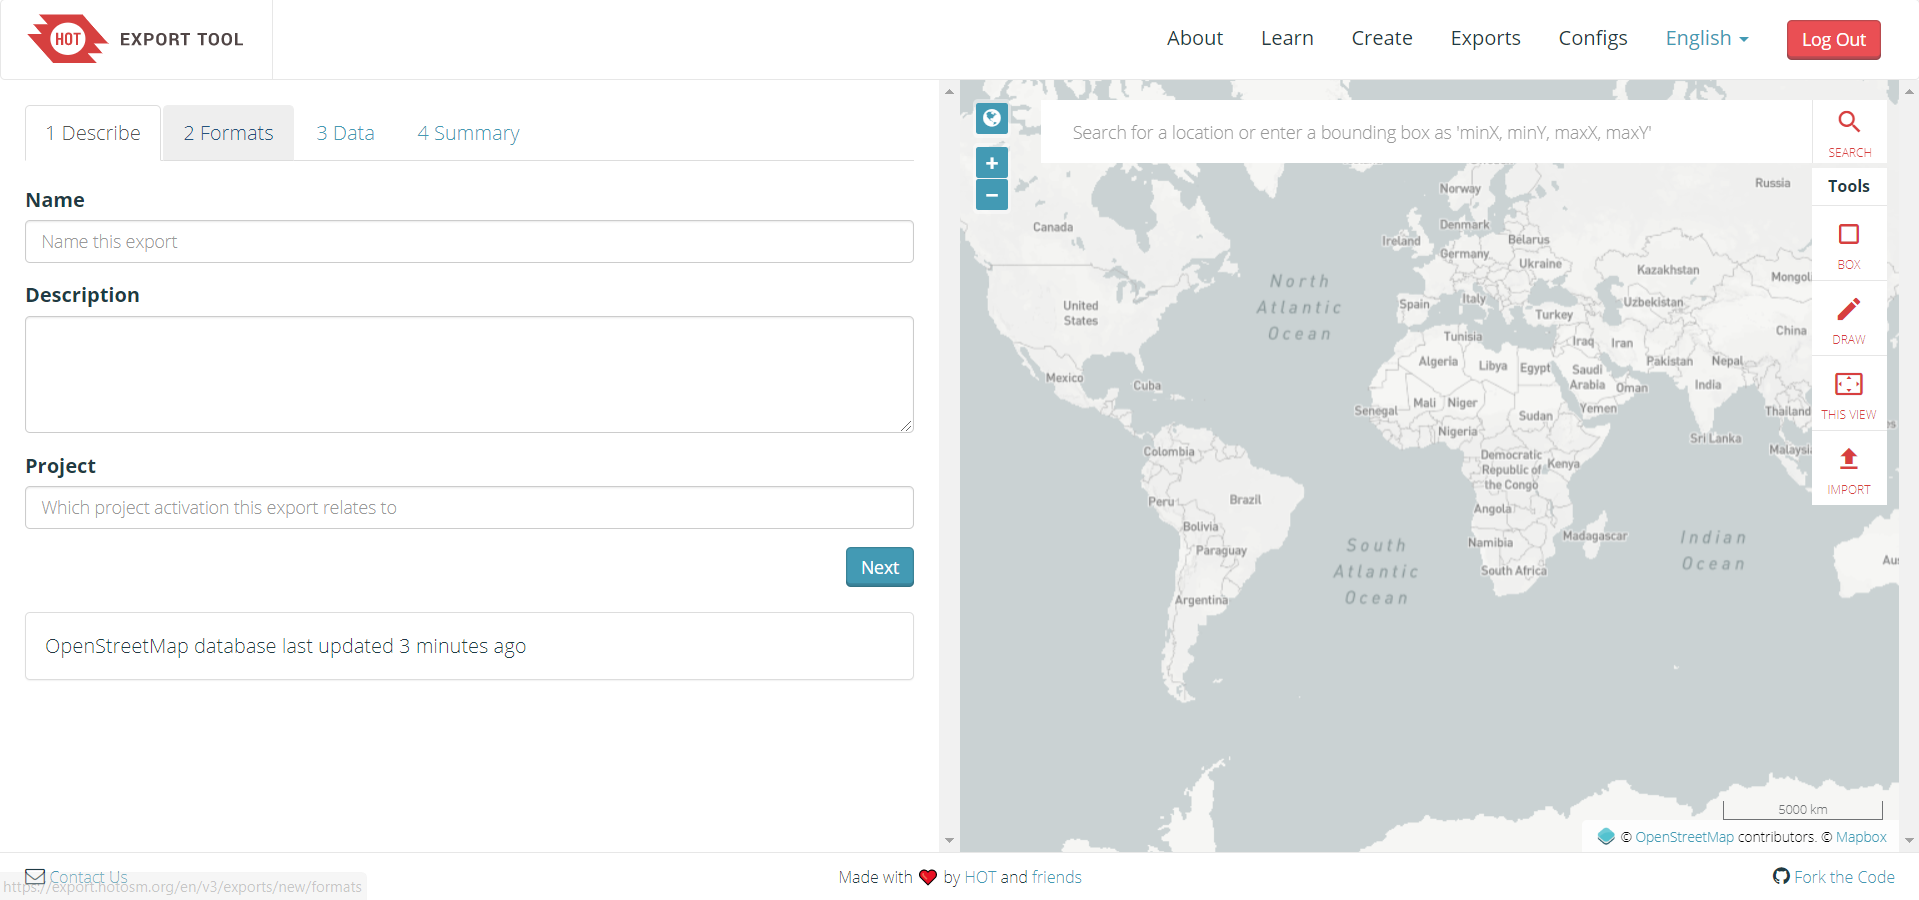
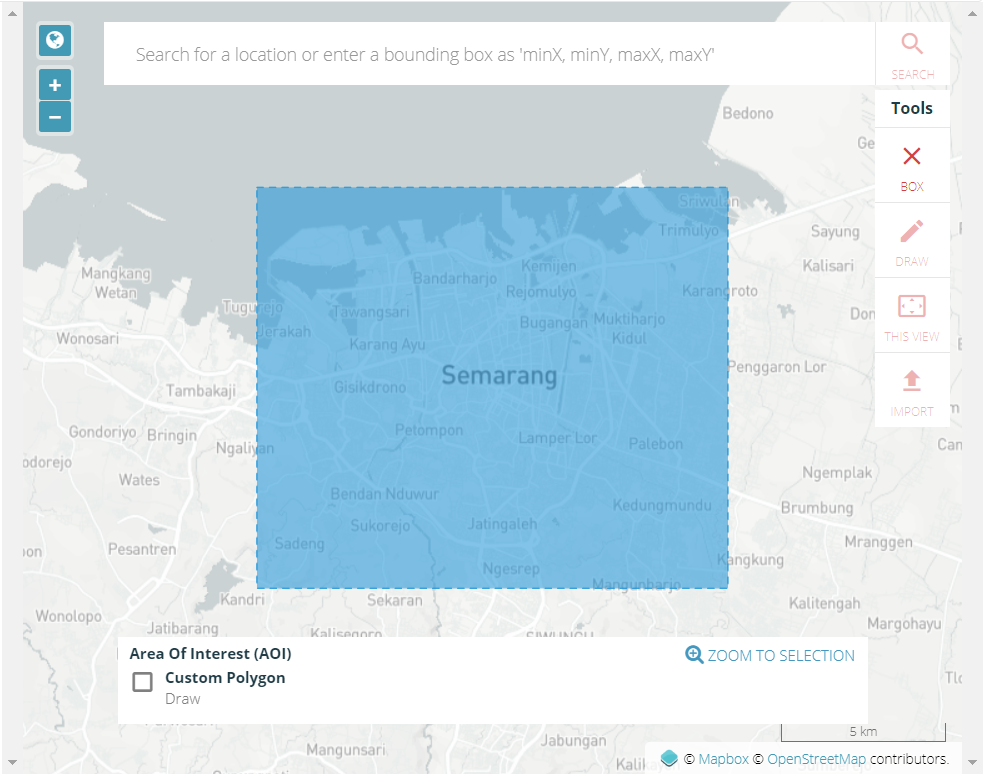
- The Export Tool window will be displayed like the image below
b. Defining an area of interest
There are 5 ways to define an Area of Interest for your export:
-
Bounding Box: Use the “Box” tool to the right to click and drag a rectangle, or use the “Current View” tool to match the map's viewport.
-
Draw Polygon: Draw a freeform polygon. This must be a simple (not multi-) polygon.

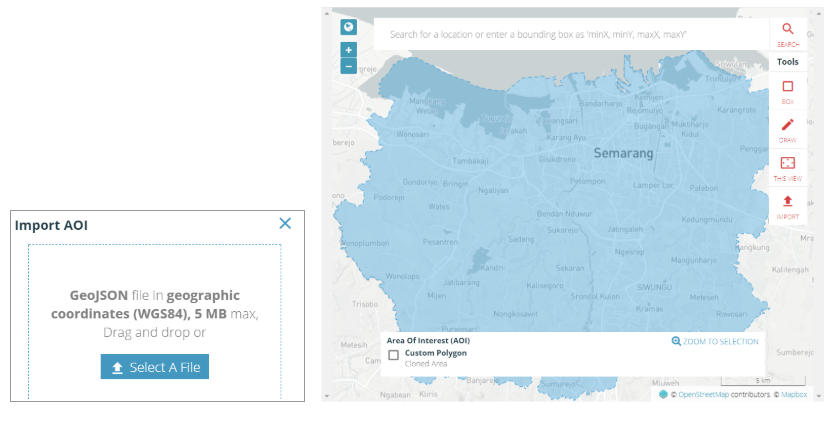
-
Upload: By uploading a GeoJSON polygon in WGS84 (geographic) coordinates. If you have not the GeoJSON data, you can refer to this chapter Using GeoJSON.
-
Search Bar: input a minX,minY,maxX,maxY string into the search bar. This will define a rectangular area of interest.
-
Current View: Use “Current View” to match the map's viewport.
The maximum extent of export on the Export Tool is determined by the density of OSM data in the defined area. **The bounding box of the area can contain at most 10,000,000 OSM nodes. **This limitation means that a 10,000 square kilometer box over a heavily mapped area like Western Europe or North America will likely be rejected, but an equal-sized box over a sparsely mapped area will be accepted by the Export Tool. If you need larger exports, please Contact Us or use an alternative resource such as downloads from Geofabrik or Mapzen.
c. Naming and Describing your Export
- Name (required): choose a short, descriptive name.
- Description: a long text body, perhaps describing what relevant features the export includes.
- Project: Helps to group together exports particular to a project, e.g. “PDC InAWARE in Semarang City”
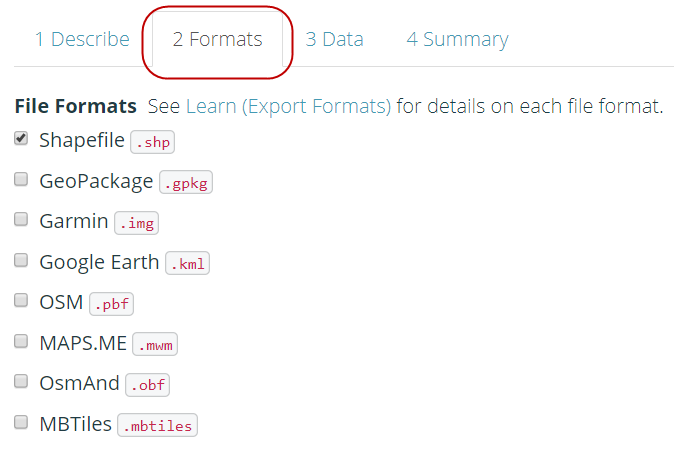
d. Choosing File Format
- Check at least one file format to export. To learn more about each individual format, read the documentation: Export Formats
e. Choosing Map Features
- Click on Data Menu → YAML. You can copy and paste the YAML from the section “Creating YAML” in the box.

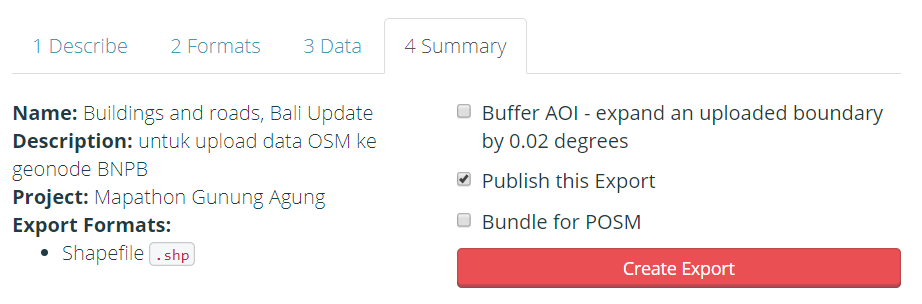
f. Downloading your File
- The last step is the Summary Menu that will be displayed about the projects. Click the Create Export to starting the process
-
After you submit your export using Create Export, you will be redirected to the Export Detail Page, which shows a list of Export Runs. You will see the first run at the top of the page. It will be in one of the following states:
Submitted: The export is waiting to be processed. This should be brief, depending on the server load. Running: The export is waiting to be processed. City-sized regions should be a few minutes - larger regions can take upwards of 20 minutes, depending on the density of OSM data. Completed: Your export files are available for download. Each export format has a separate download link for its ZIP archive.
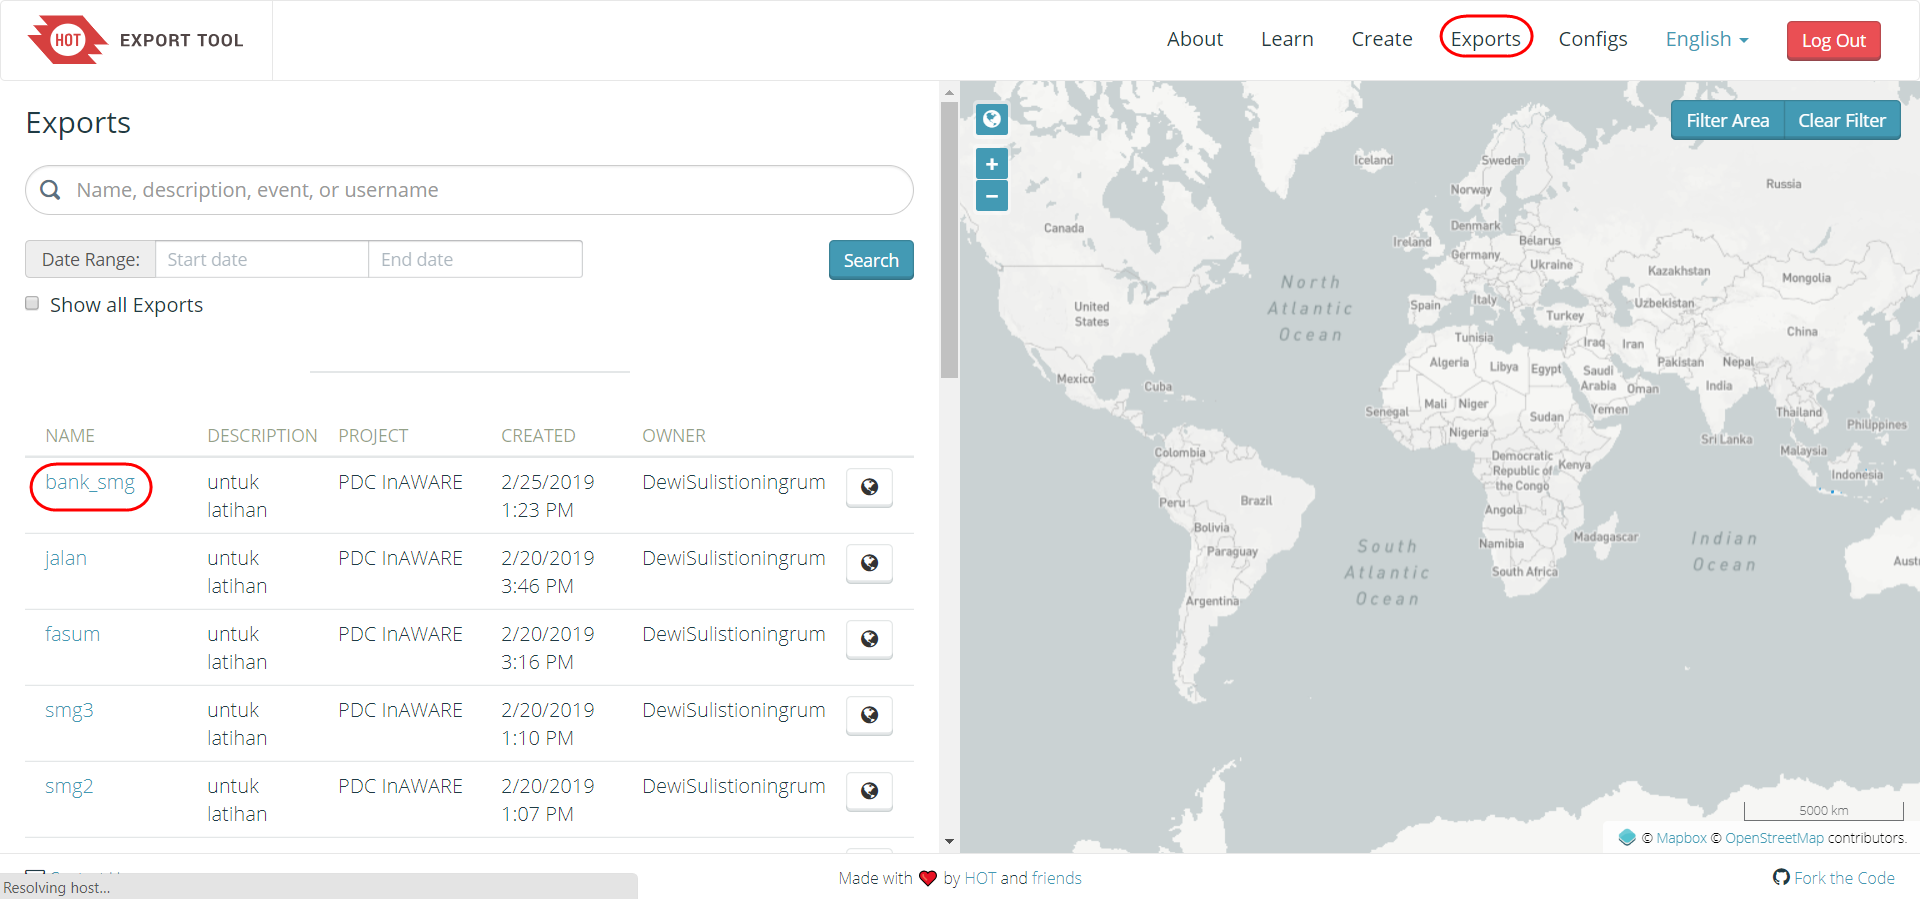
- If the status will be COMPLETED, we can download the data with a click on **bank_smg_shp.zip **and save in your directory.

Exercise!
- Create the new projects form this link https://tinyurl.com/group-stats.
- You can use the administrative boundary from Semarang City for Import in the project, download the admin in this link https://tinyurl.com/admin-semarang.
- The results will be used in the next chapter Group Stats Plugin for Calculate The Objects. If you have finished, the results consist of two shapefile (public facilities and highways).
SUMMARY
You have learned about how to download the spatial data using YAML in the Export Tool. The results data from YAML, the attributes table will be the same with the data in your mapping projects and the attributes table have organized. You can open the file in mapping software, like QGIS.