Publish and check the project
This guide publishes the tutorial and the project, and checks both in the web app as a volunteer. Follow the steps in order, first on stage (see Stage and production). You need the tutorial from Create the tutorial and your manager account.
1. Publish the tutorial
- In the manager, open the tutorial: click Tutorials in the top menu and click its title.
- Click Publish at the top right.
- Click Confirm. The Publish and Discard buttons disappear, and the tutorial is published (observed in the manager).
Only a published tutorial can be attached to a project. Skip this step when you reuse a published tutorial.
2. Attach the tutorial to the project
- Click Projects in the top menu and open your project.
- Scroll down to Tutorial and click the field Select a tutorial for this project.
- Click your tutorial. Only tutorials of the same project type are listed.
- Click Update project at the bottom of the page.
Two tutorials with the same title
The manager accepts several tutorials with the same title (observed in the manager), and the list shows them all. Give each tutorial its own title, for example with the area or the date, so you can pick the right one.
3. Publish the project
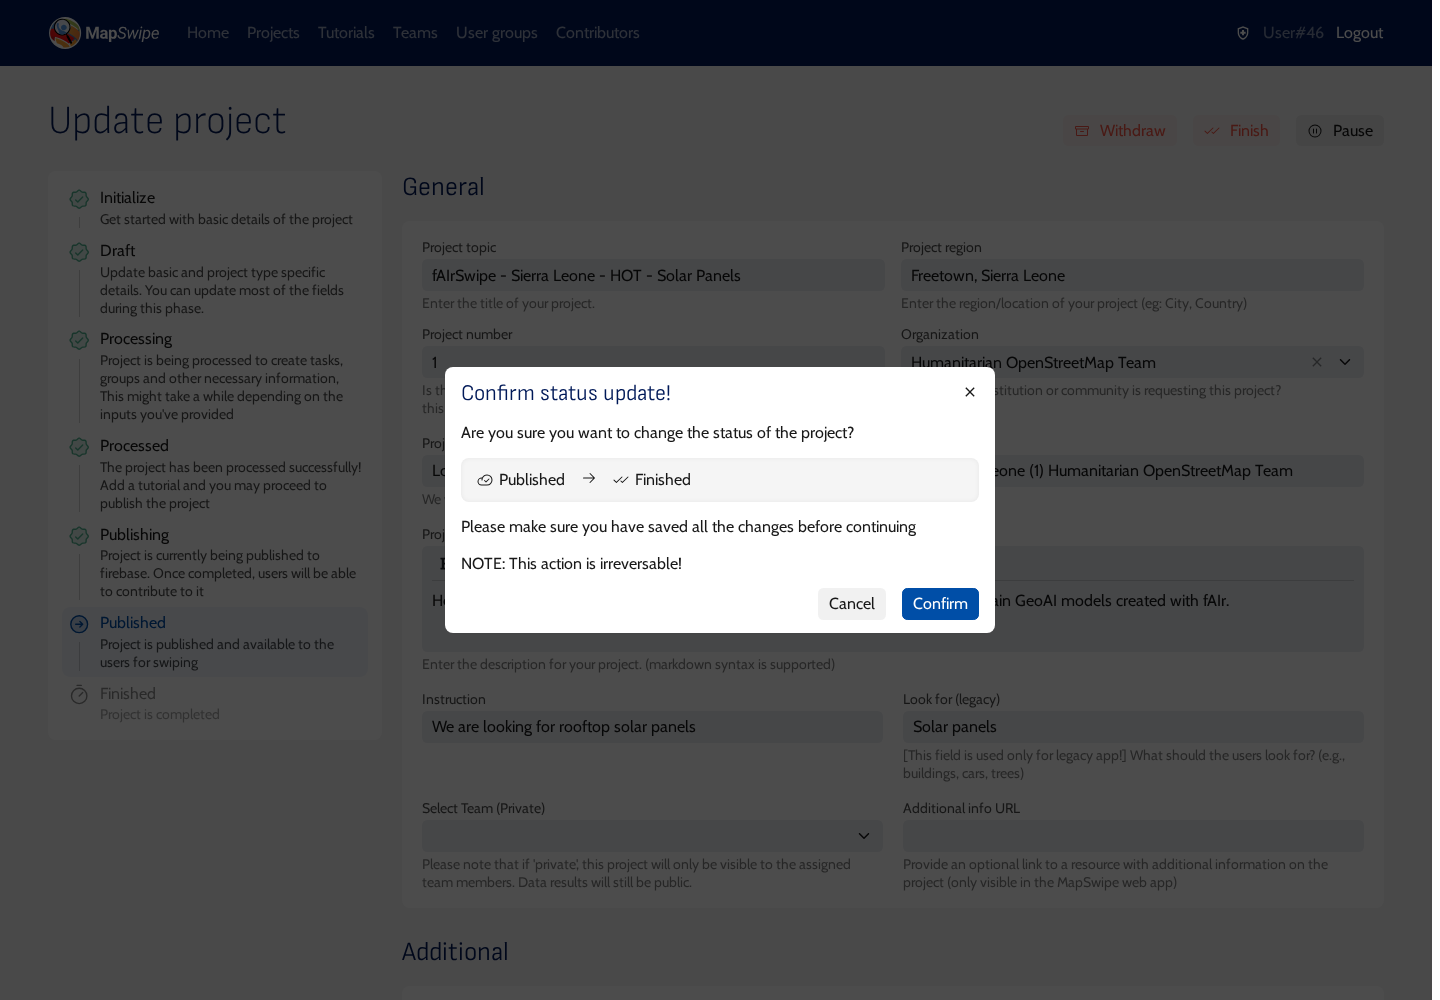
- Click Publish at the top right.
- Click Confirm.
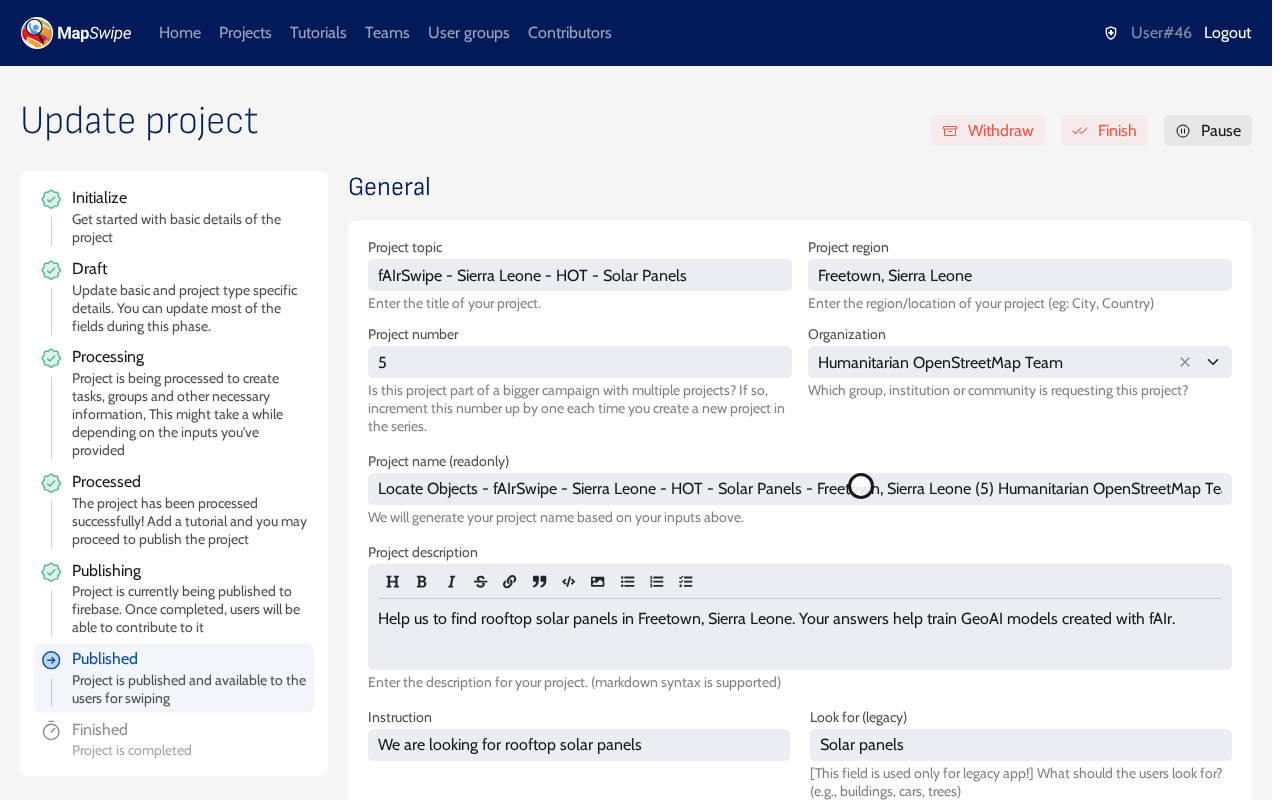
The project moves to Published, and the top right shows Withdraw, Finish and Pause.
Pause the project
Pause hides the project from volunteers and keeps everything (observed in the manager); publish it again to bring it back. This helps when you prepare a project ahead of a mapathon.
4. Open the project in the web app
- Open the web app of the same environment: https://web.mapswipe.org/dev/ for stage, https://web.mapswipe.org/ for production.
- To sign in, click the person icon at the top right (Sign In/Sign Up) and sign in with your MapSwipe account, the same one as for the manager (observed in the web app).
- Click Projects at the top. Scroll to your project; new projects are near the end of the list (observed in the web app).
- Click Contribute on your project. The project details open.
- Click Contribute again. The tutorial opens on the How to contribute? tab.
5. Check the tutorial
The tutorial has a tab for How to contribute?, one tab per information page, and Tutorial. Close leaves the tutorial at any time (observed in the web app).
- Click the tab of your information page, for example Solar panels, and check the text and the image.
-
Click Tutorial. The first scenario shows your Instruction message above the tile.
-
Tap a cell. The Hint message replaces the instruction. Each tap on a cell moves it to the project's next answer, for example Single Feature, Multiple Features, then No (source).
-
Tap the cells that hold the object, the same cells you marked in the tutorial builder. When all cells match, the Success message and Next task appear.
The web app shows the hint after the first tap, until all cells are right, and Show answer after two taps while a cell is still wrong (source). A scenario without the object shows the success message right away (observed in the web app).
-
Click Next task for each scenario. After the last one, the app shows "You're ready to start MapSwiping!".
-
Click Start mapping. The project tiles follow, one per screen. Tap cells, move with the arrows, and click the save icon at the end of the group (observed in the web app).
The tutorial doesn't open
On stage, once an account had saved results for the project, Contribute opened mapping directly, without the tutorial (observed in the web app). Check the tutorial before you save any results.
6. Create the project on production
When the project and the tutorial work on stage, create them again on production with the same steps, from Create a Locate project. Under Organization, pick fAIrSwipe Grantees there too. Volunteers map on production.
7. Finish the project
A project reaches 100% when every tile has been seen by as many volunteers as the verification number. The manager accepts 3 or more (observed in the manager), so one account alone can't complete a project.
- Open the project in the manager.
- Click Finish at the top right and Confirm. The confirmation says the action is irreversible. Finish works before the project reaches 100% (observed in the manager).
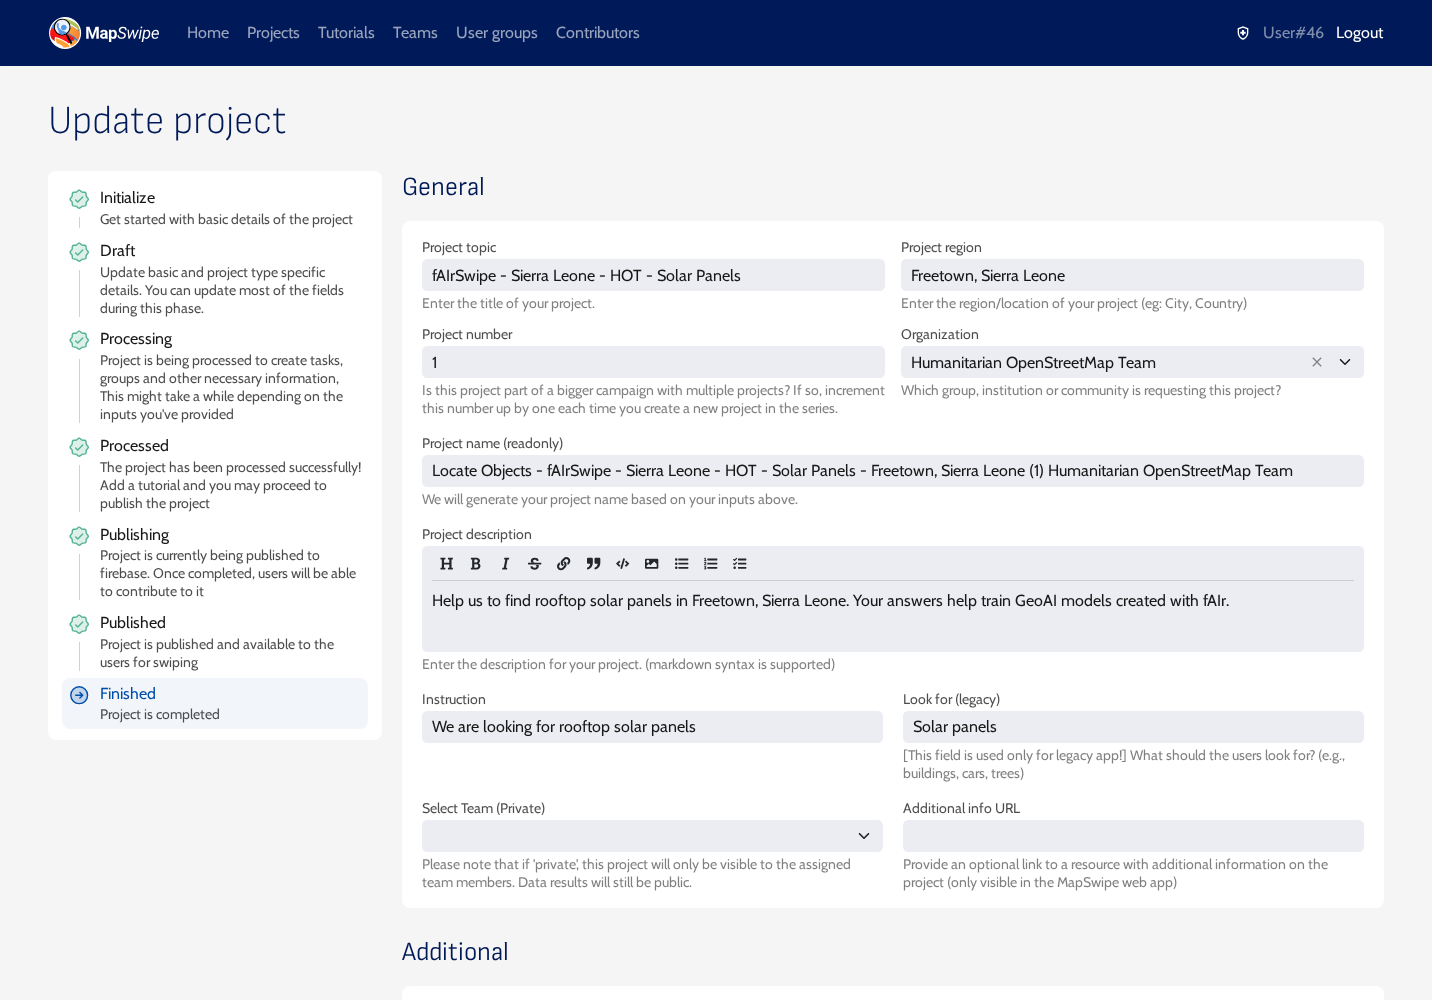
The project moves to Finished and leaves the volunteers' project list. Its results stay available.