Label in OpenStreetMap
Trace each object in OpenStreetMap over the project imagery, so every label is checked against the same images the model trains on. Then download the traced areas with the HOT Export Tool. LearnOSM teaches editing in iD; the steps below cover what this workflow adds. In JOSM, add the imagery as in LearnOSM: adding imagery.
OpenAerialMap states that "All imagery is available to be traced in OpenStreetMap" (source). For imagery released under a licence with attribution, the OpenStreetMap Foundation publishes waiver templates. Mapping for a project follows the Organised Editing Guidelines.
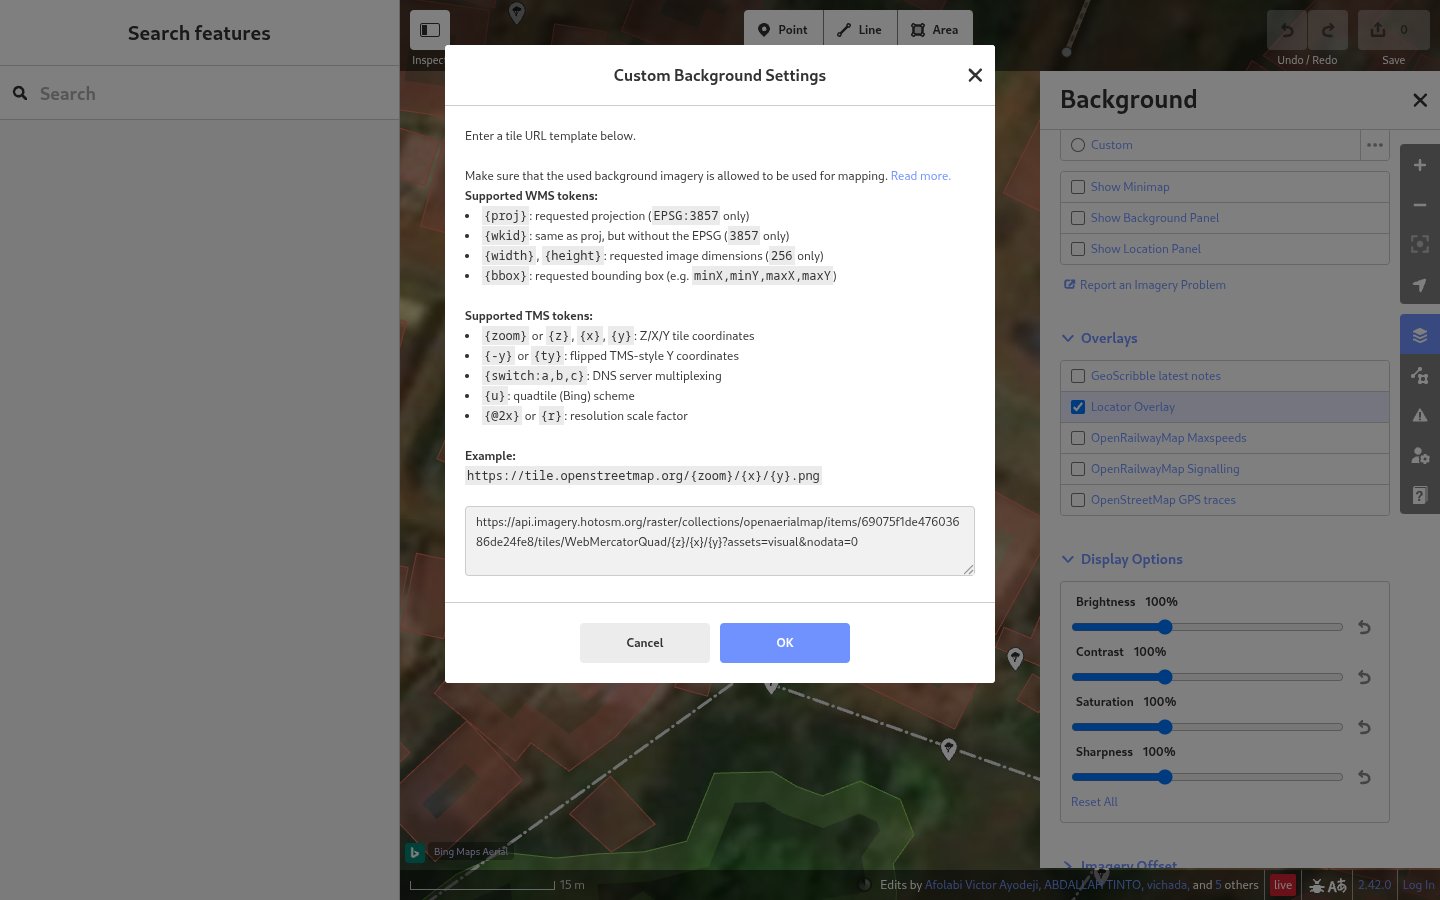
1. Add the project imagery
- Open iD from https://www.openstreetmap.org/edit and log in.
- Open the Background panel (B) and click … next to Custom.
- Paste the project's tile URL in Custom Background Settings and click OK.
iD accepts {z} as it is (iD source).
2. Find the objects
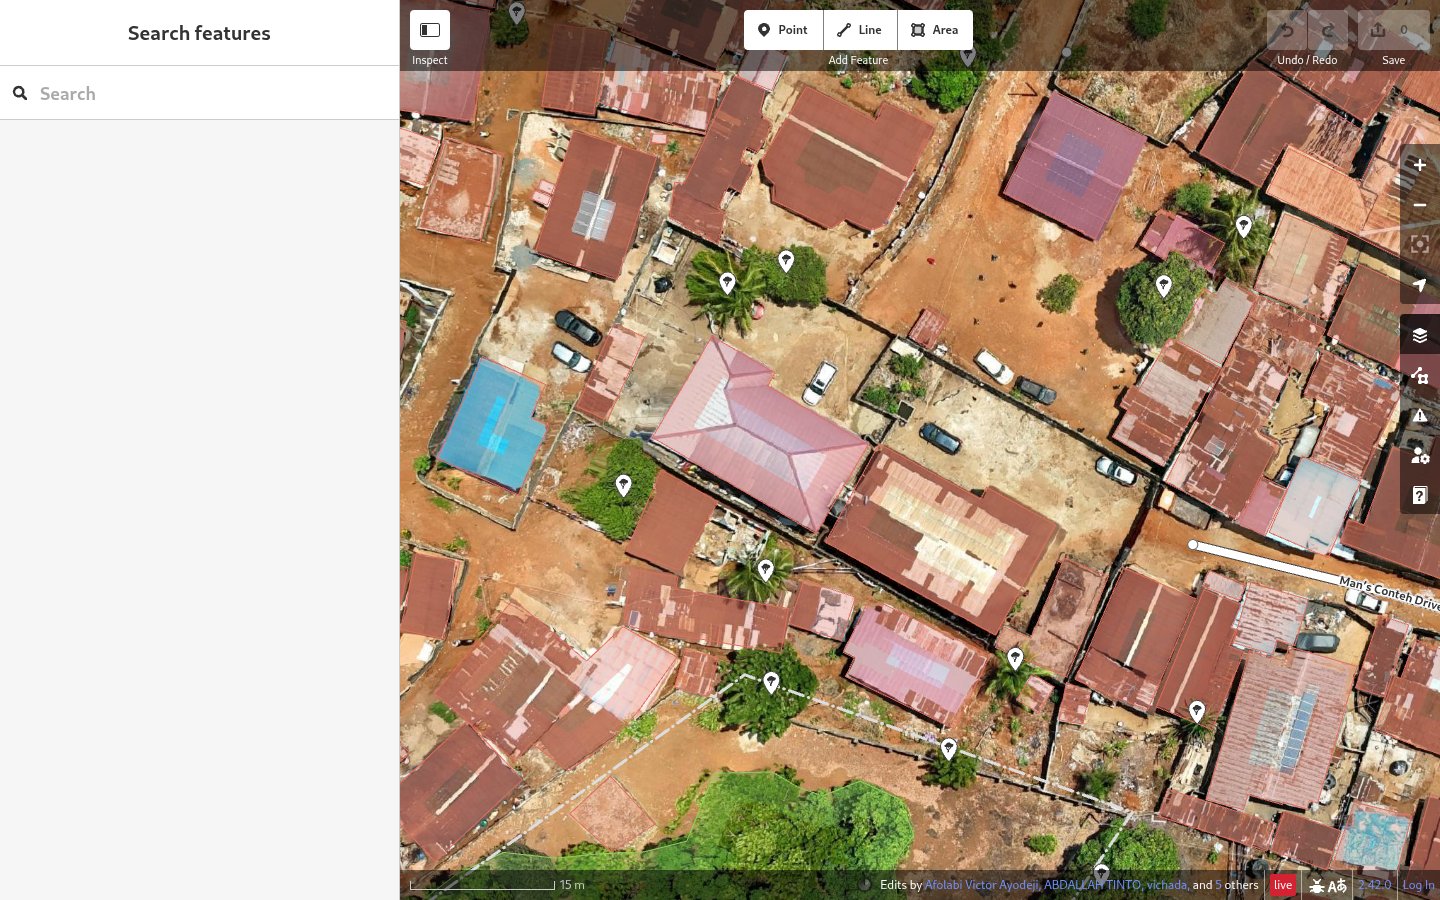
- Drag the file saved with Download cells in View the results onto the map. iD shows it under Map Data (U) > Custom Map Data.
- Zoom to a marked cell.
- Check that each area already mapped there matches the object in the image.
3. Trace and tag each object
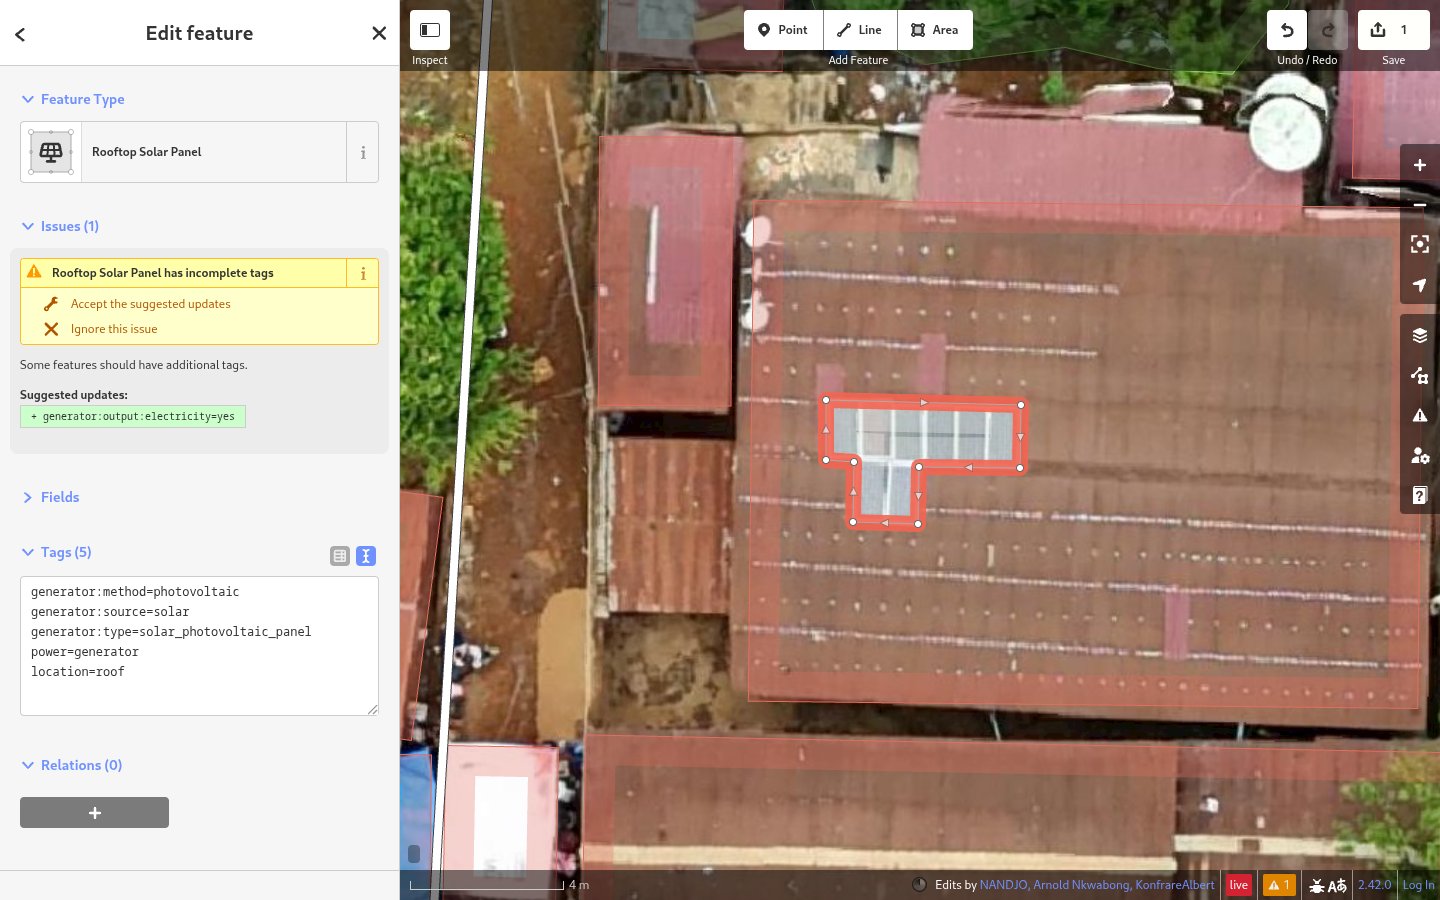
- Click Area and trace tight around an array of touching panels.
- Choose the Rooftop Solar Panel preset.
- Click Accept the suggested updates when iD suggests
generator:output:electricity=yes. - Repeat steps 1 to 3 for each array of touching panels.
The preset adds power=generator, generator:source=solar, generator:method=photovoltaic, generator:type=solar_photovoltaic_panel and location=roof (preset, OSM wiki).
For other objects, trace each one as an area (the auto labeller skips points), with these tags:
- Water tanks:
man_made=storage_tankandcontent=water(wiki). Where line:man_made = 'storage_tank' AND content = 'water'. - Ponds:
natural=waterandwater=pond(wiki). Where line:natural = 'water' AND water = 'pond'. - Green spaces, such as parks:
leisure=park(wiki). Where line:leisure = 'park'.
In step 5, rename solar_panels (letters, numbers and underscores), list the tag keys under select, and use the object's where line. For water tanks:
water_tanks:
  types:
    - polygons
  select:
    - man_made
    - content
  where: >-
    man_made = 'storage_tank'
    AND content = 'water'
Other green spaces and water bodies use other tags (Key:leisure, Key:water). The Export Tool accepts AND (YAML guide).
4. Upload
Click Save and upload the changes, as in LearnOSM.
5. Download with the HOT Export Tool
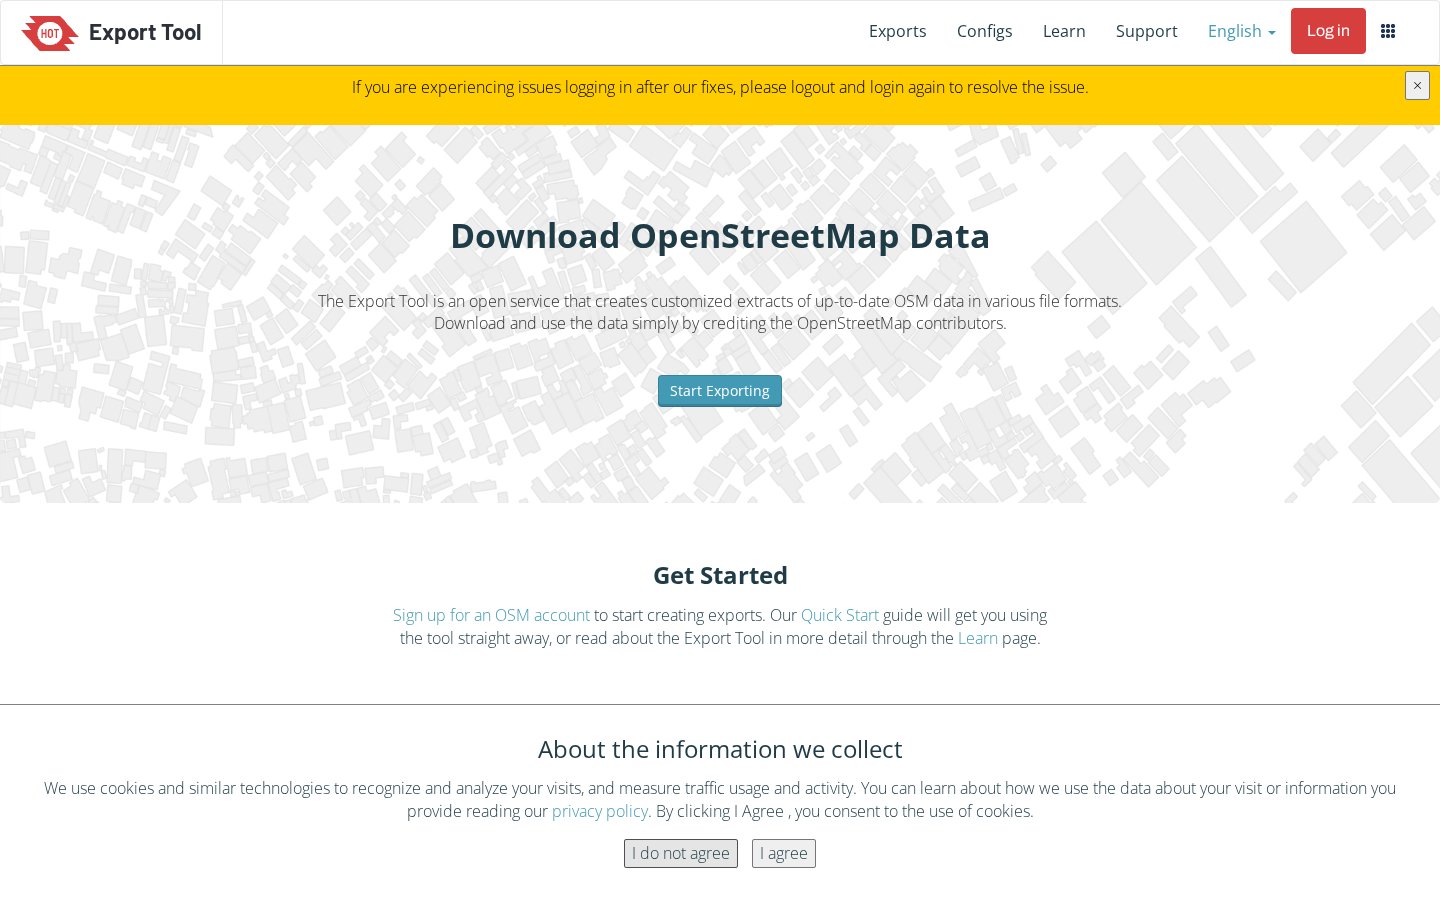
Log in to the HOT Export Tool with your OpenStreetMap account and click Start Exporting. Fill in the four steps of the form (source):
- Describe: name the export, and draw the area of interest on the map, or load
area-of-interest.geojsonfrom Create a Locate project in the Import AOI dialog (source). - Formats: tick Geojson .geojson.
-
Data: open the YAML tab and paste:
-
Summary: click Create Export, then download the
.zipfile when it is ready.
The YAML follows the Export Tool's YAML guide. The tool updates from OpenStreetMap every minute (source).
6. Load the file in the auto labeller
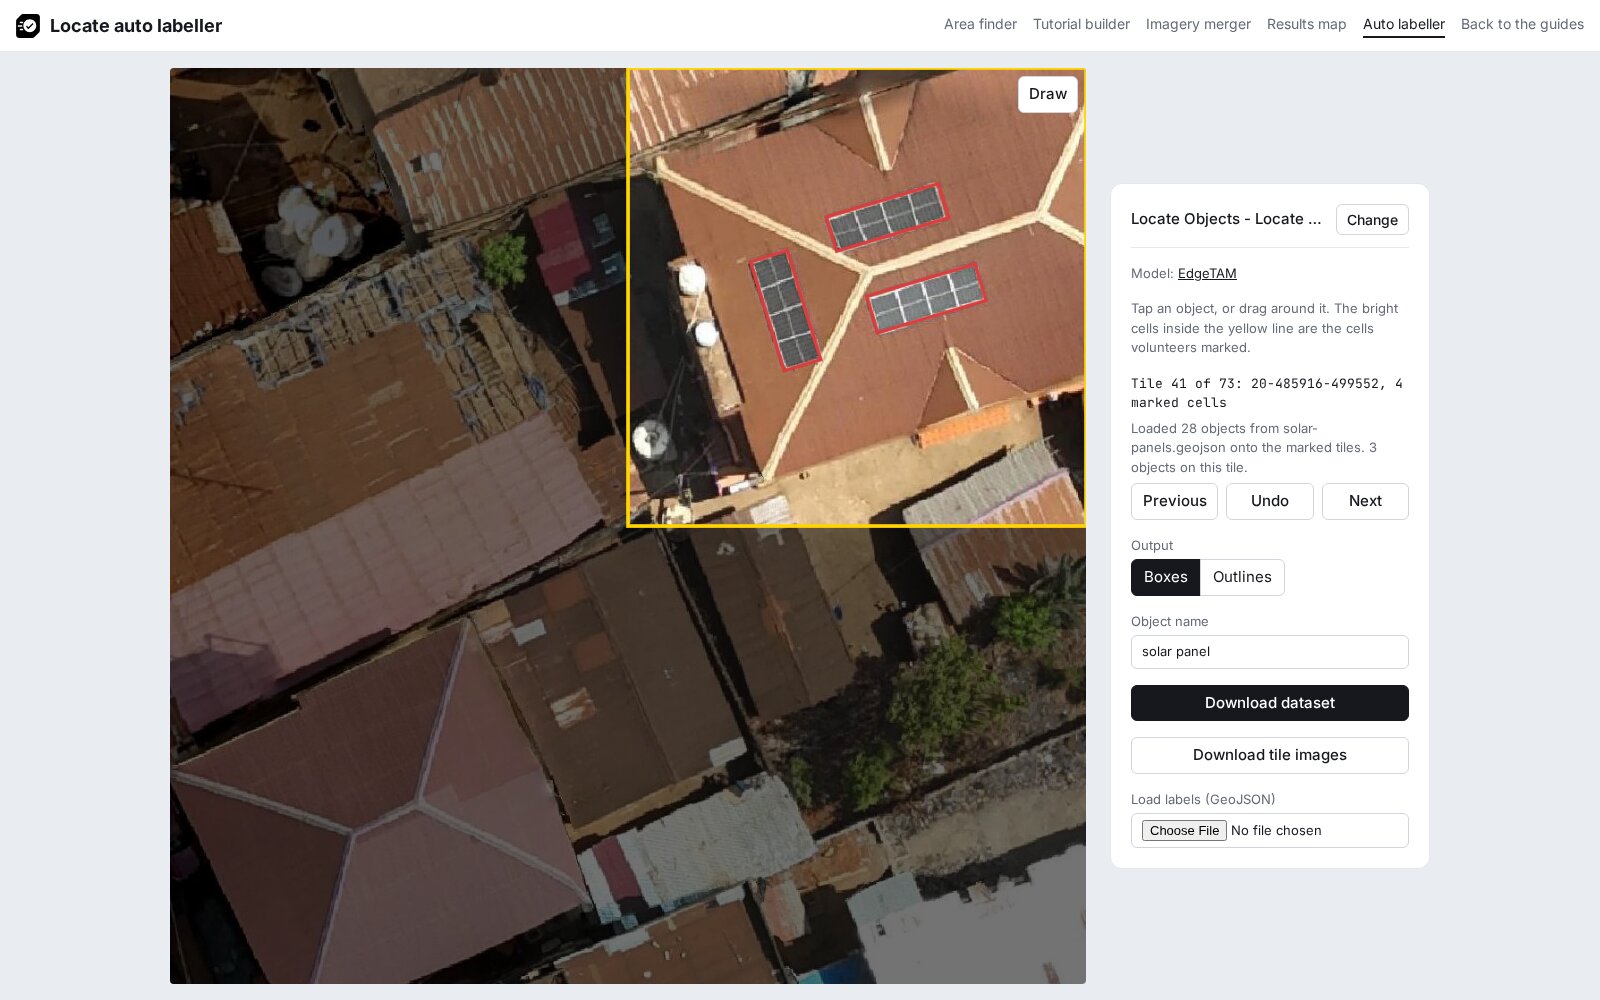
- In the auto labeller, load the project.
- Under Load labels (GeoJSON), click the file field (Choose File or Browse…) and pick the
.geojsonfile from the download. - Go through the tiles with Next, and tap any object that is still missing.
- Click Download dataset, then check the dataset.
Roads and drains
Roads and drains are delivered as lines. The auto labeller skips lines, so the file comes straight from the Export Tool. Map every road or drain in the project area.
- In step 3, trace each road or drain as a line along its centre, with
highway=*andsurface=*for a road (Key:highway, Key:surface), orwaterway=drainfor a lined drain andwaterway=ditchfor an unlined one (drain, ditch). Addsurfaceto every road, including those already mapped, and move any line that doesn't match the imagery. -
In step 5, use
linesundertypes:roads: types: - lines select: - highway - surface where: >- highway IN ('primary','secondary','tertiary', 'unclassified','residential','service','track') AND surface IS NOT NULLFor drains, list
waterwayunderselectand usewhere: waterway IN ('drain','ditch'). The Export Tool acceptsIN,ANDandIS NOT NULL(YAML guide). -
Unzip the download and open its
.geojsonfile in QGIS. Open the attribute table and click the field calculator. Tick Create a new field, set Output field name toobject_nameand Output field type to text, enter'road'or'drain'with the single quotes, and click OK. Click Save Edits, then right-click the layer, choose Export > Save Features As…, set Format to GeoJSON and name the filelabels.geojson. - Open
labels.geojsonin a text editor and add theimagery_urlline after"type": "FeatureCollection",, as in The imagery URL at the top.