Label in Label Studio
Label Studio runs on your computer and opens in the browser. The steps were checked with Label Studio 1.23.2.
Label Studio makes a training dataset to check the boxes on the tile images. It doesn't write labels.geojson, so the delivery to HOT comes from one of the other methods (What to deliver).
1. Download the tile images
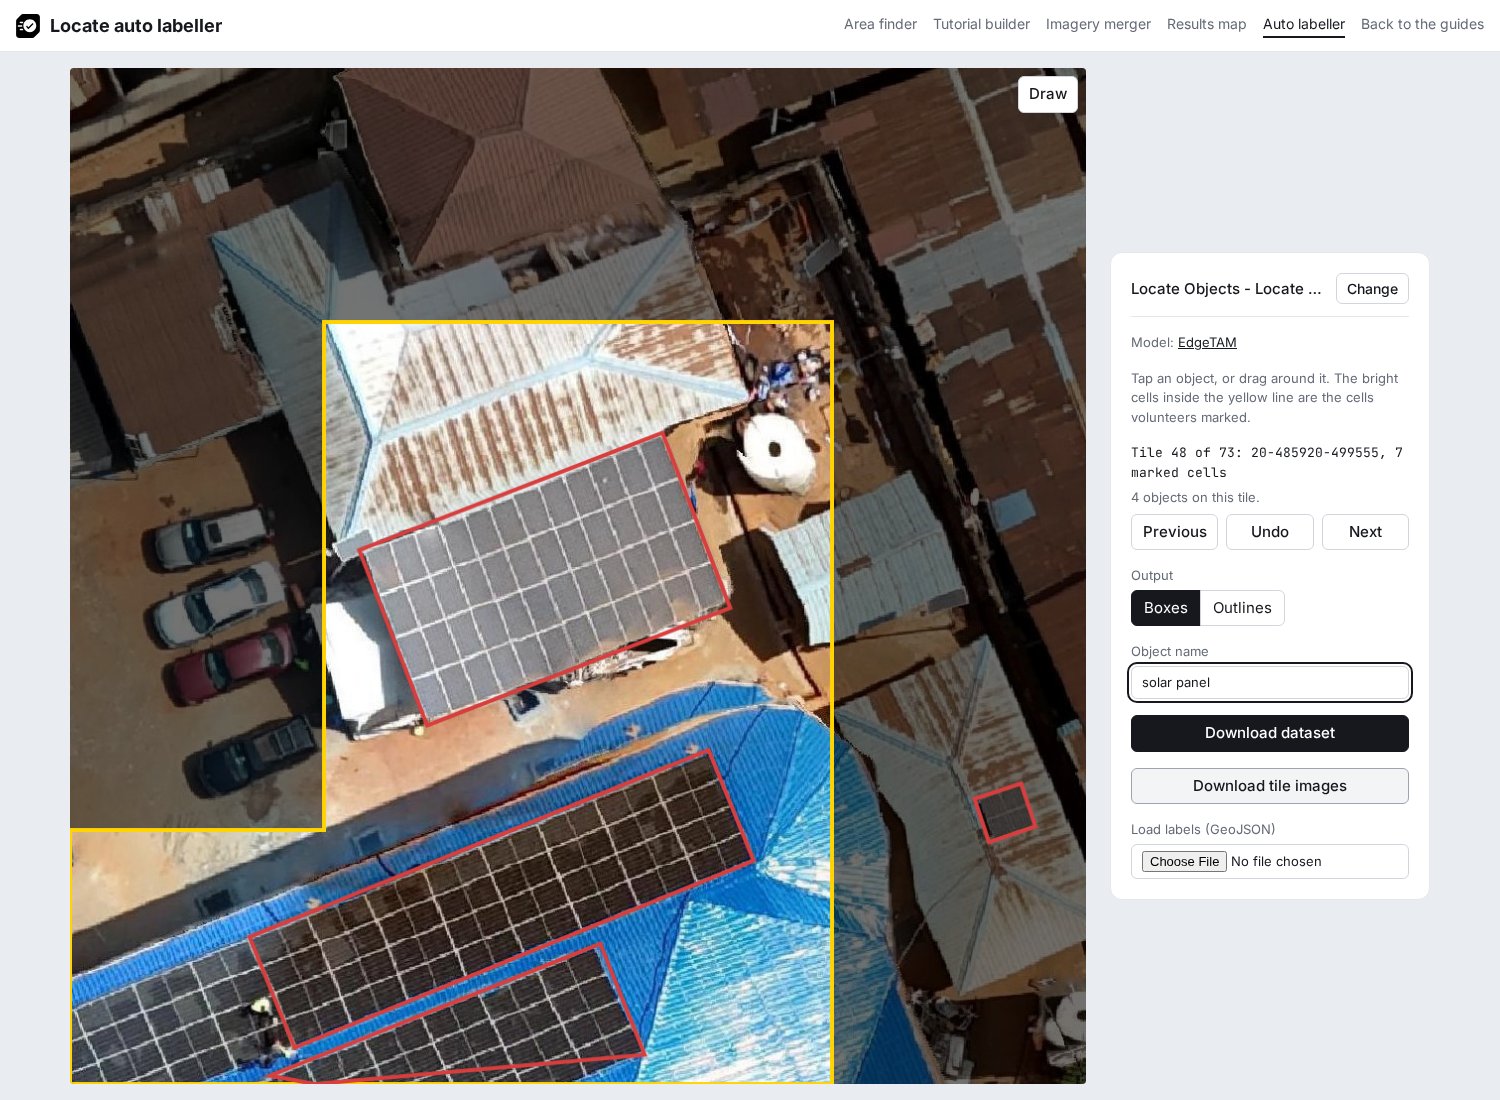
- In the auto labeller, load the project.
- Click Download tile images.
- Unzip the file. It holds every marked tile as
images/<tile_id>.jpg.
2. Install and start Label Studio
Install and start it as in its install guide:
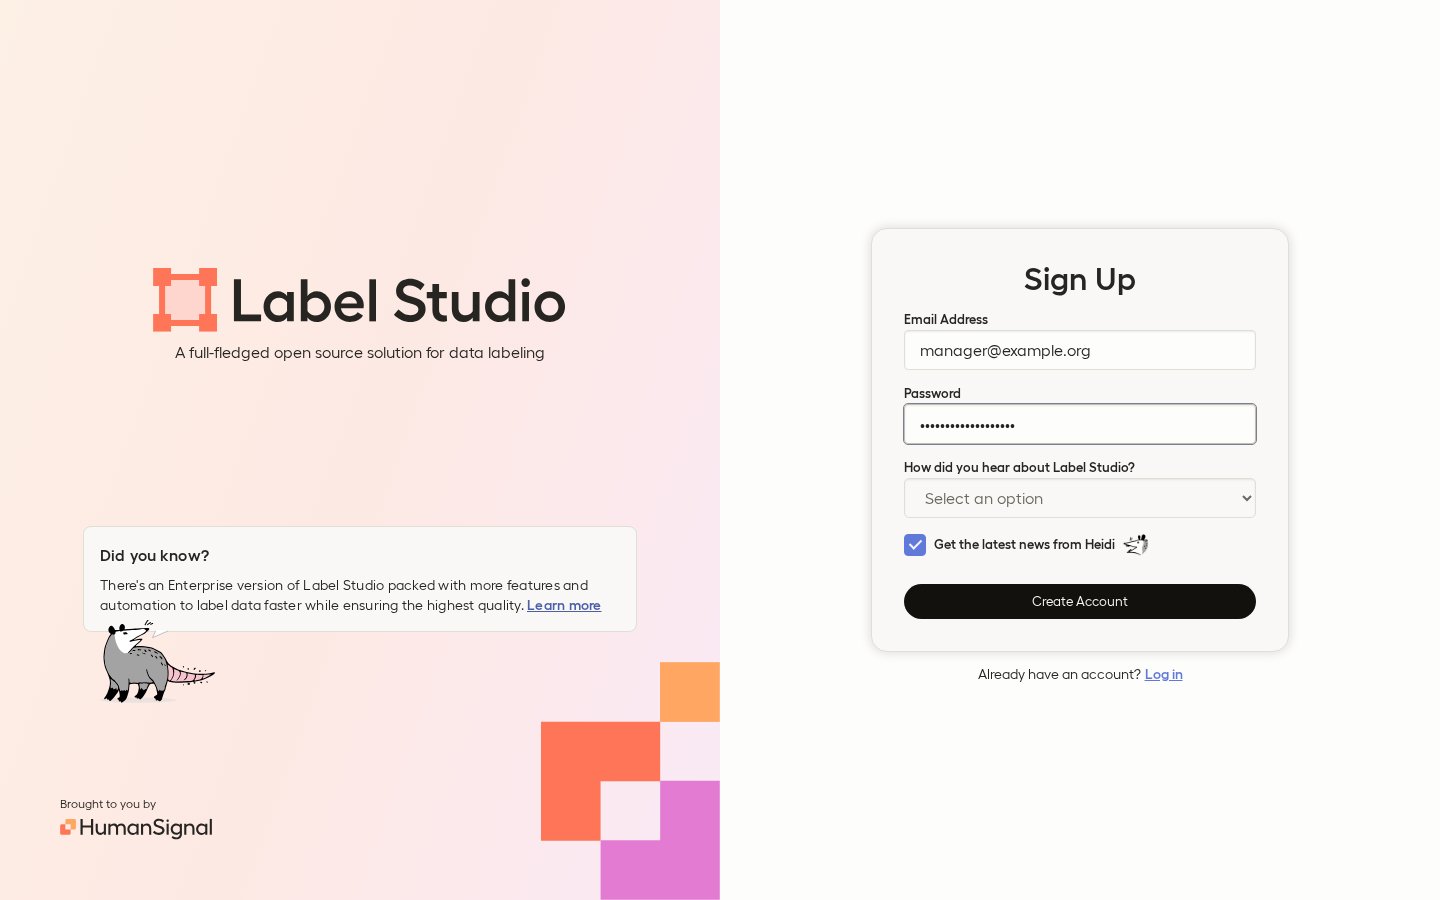
The page opens at http://localhost:8080. Sign up with an email and a password; the account stays on your computer.
3. Create a project
- Click Create Project (Create once a project exists) and enter a Project Name.
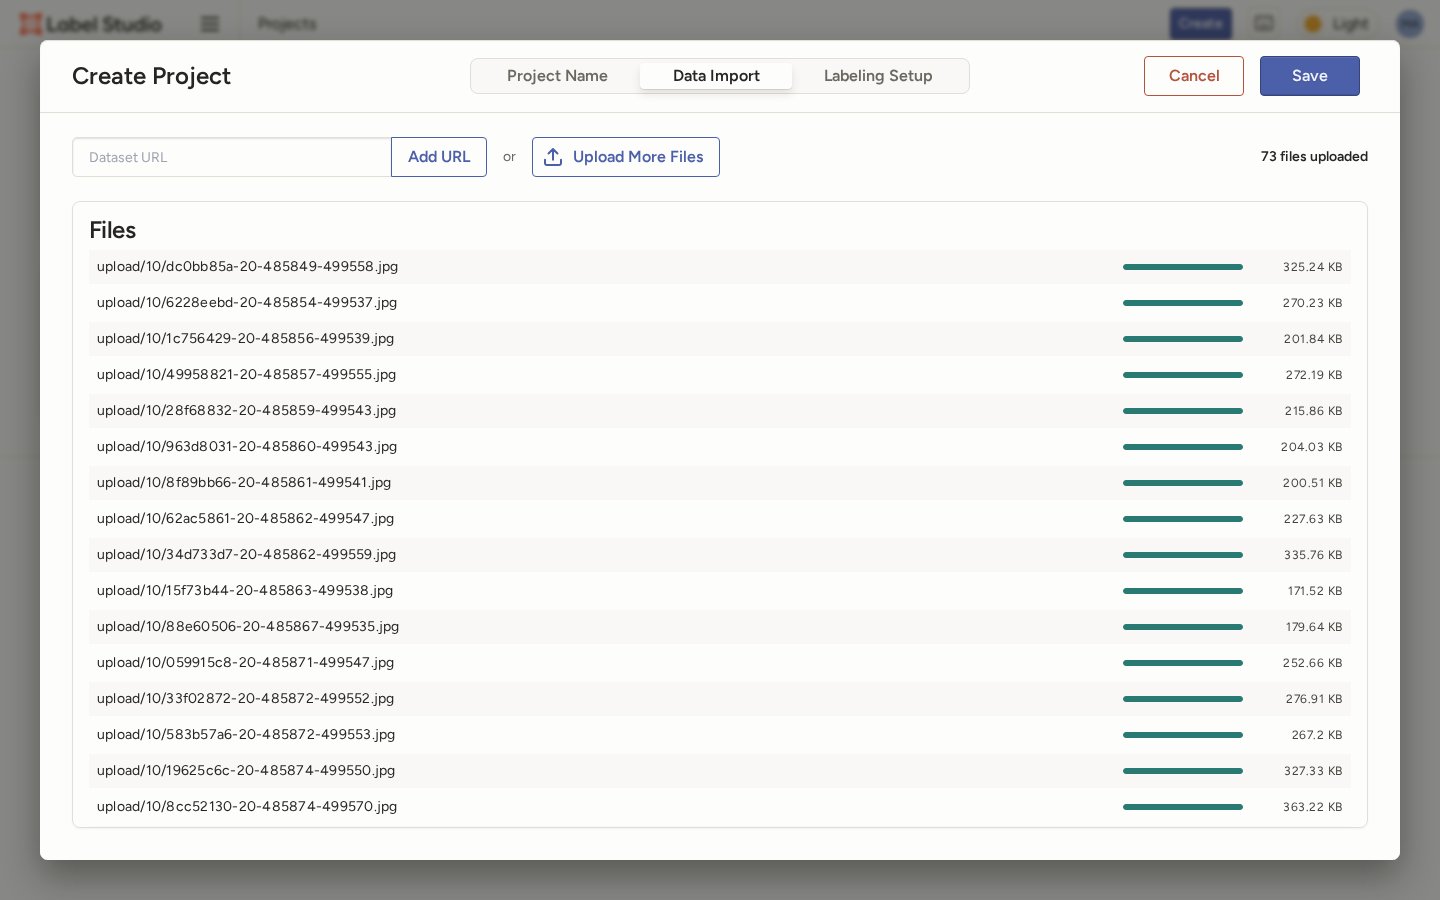
- Under Data Import, click Upload Files and select the tile images. After the first upload, the button reads Upload More Files (observed in Label Studio 1.23.2).
Label Studio adds 8 characters and a hyphen to each file name, for example 01653539-20-485854-499537.jpg; the part after the first hyphen is the tile ID.
4. Set up the labels
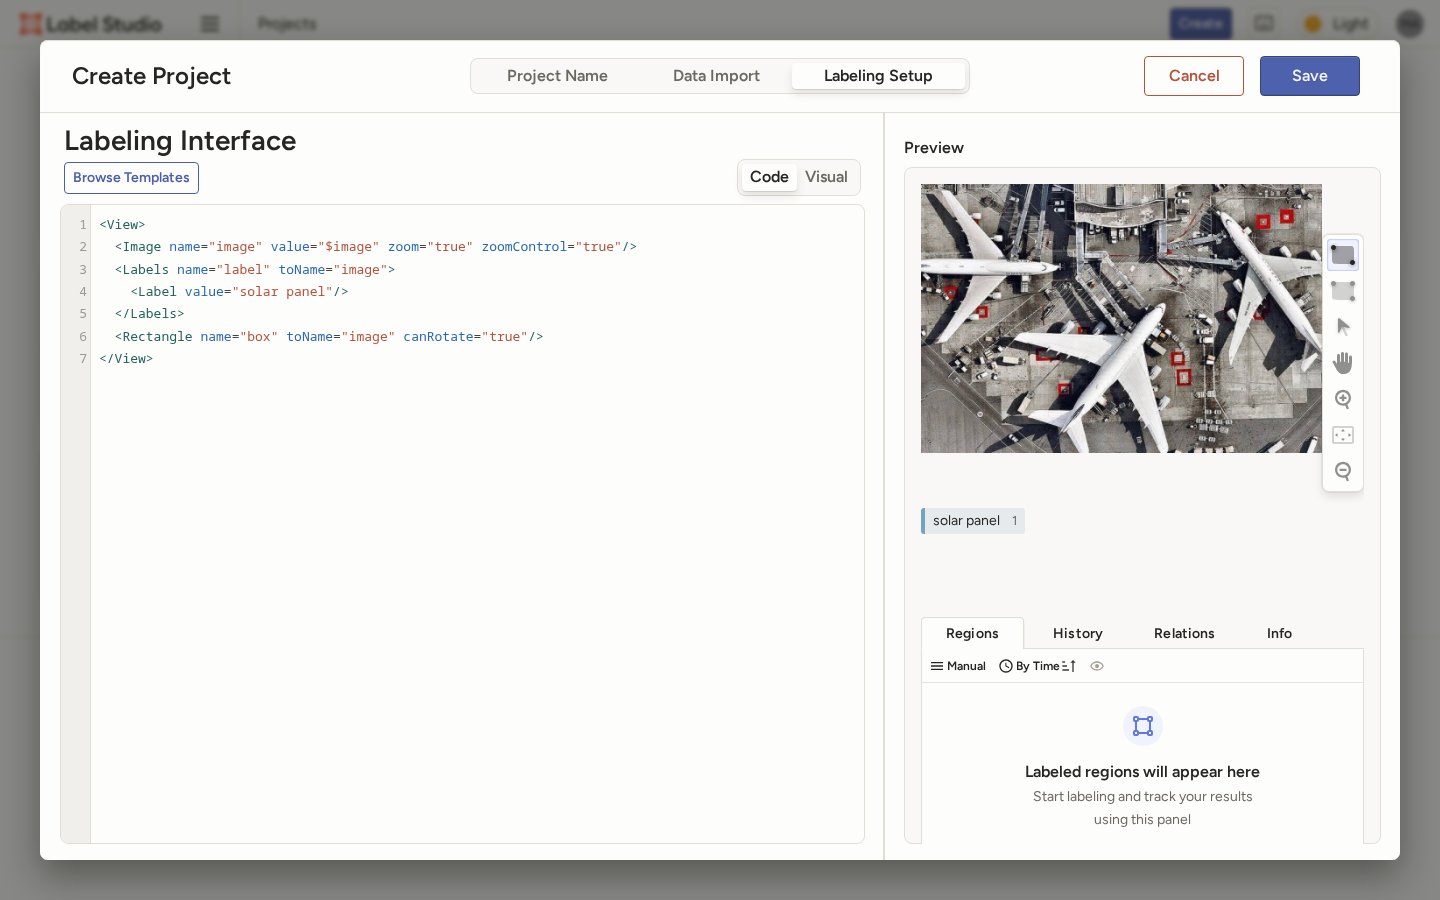
- Under Labeling Setup, choose any template and switch to Code.
-
Replace the text with this setup and click Save:
The rotated box tool needs <Rectangle> with a separate <Labels> list: "The three-point click action is only available when using the <Rectangle> tag. It is not available for <RectangleLabels>" (source).
5. Draw the boxes
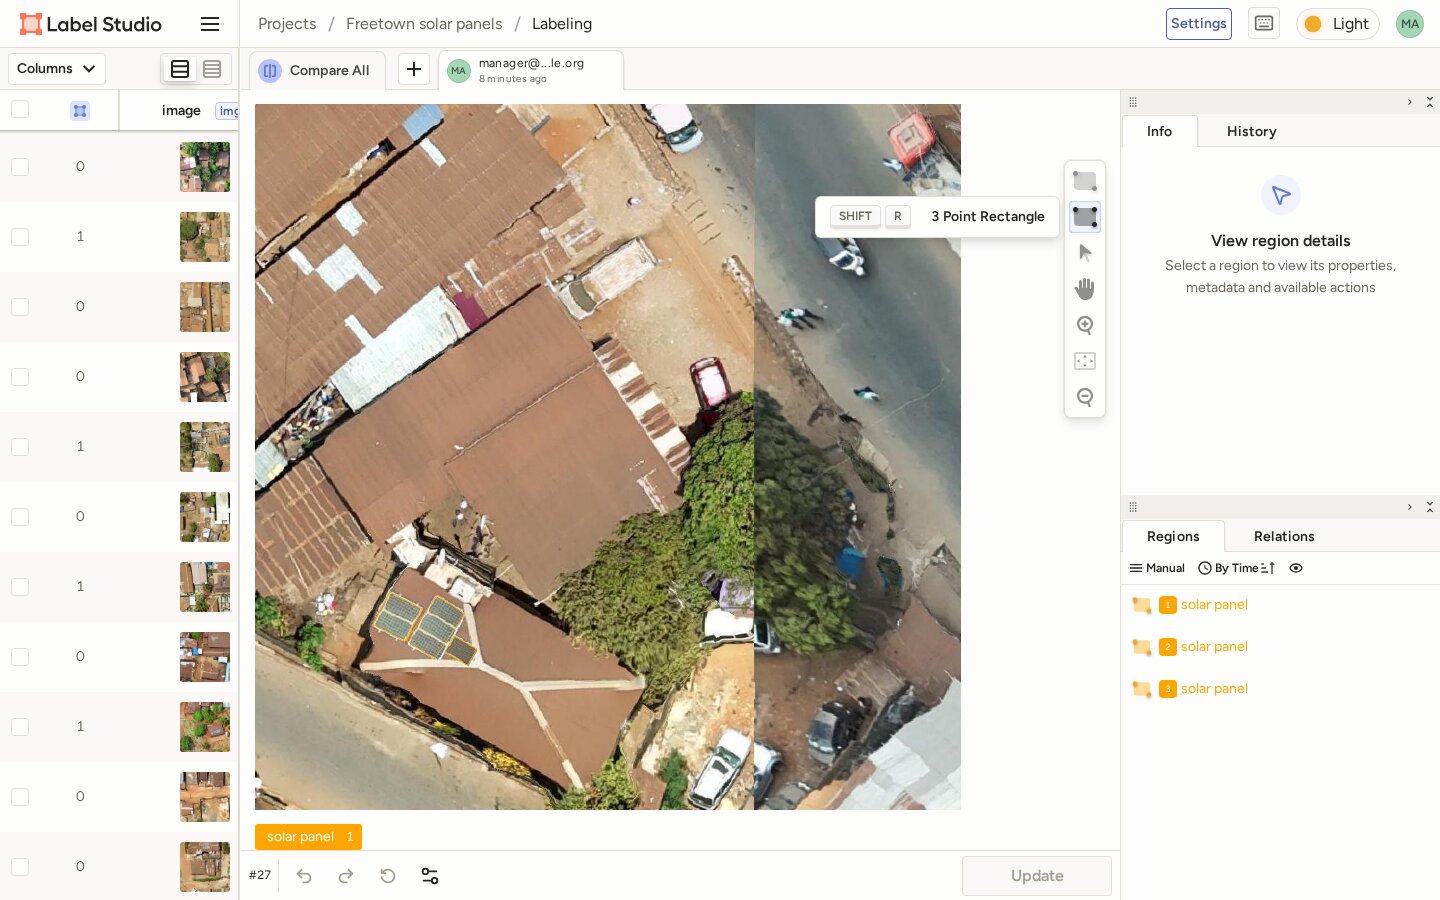
- Open a tile.
- Click the solar panel label under the image.
- Choose 3 Point Rectangle in the toolbar (Shift+R).
- Click two corners along the long edge of an array, then click its opposite edge.
- Repeat for each array, then click Submit. On a tile you already submitted, the button reads Update (observed in Label Studio 1.23.2).
6. Export the dataset
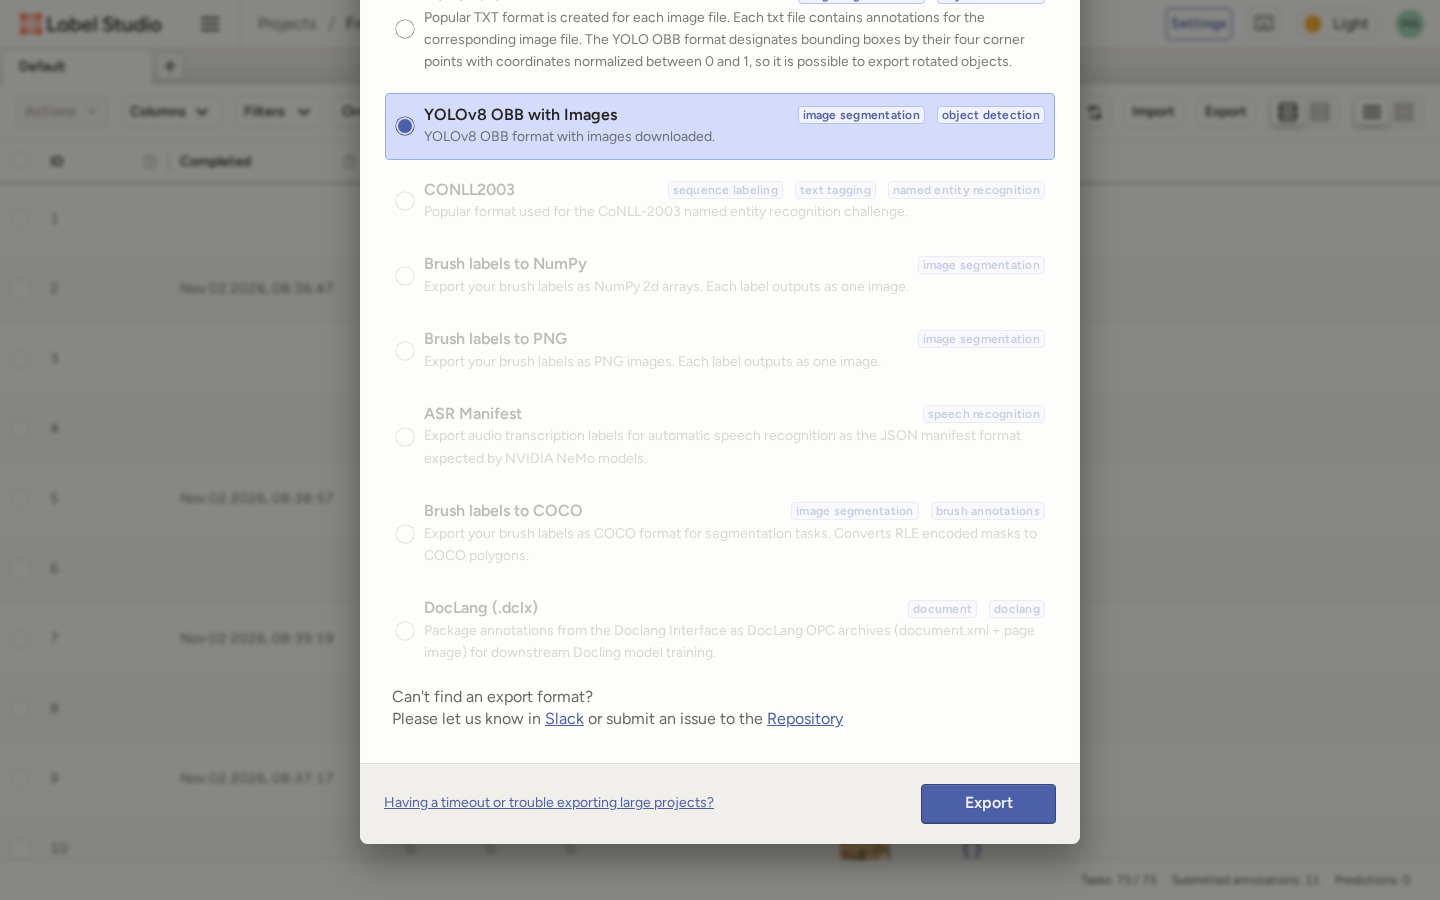
- When every tile is done, click Export.
- Choose YOLOv8 OBB with Images and click Export.
7. Add data.yaml
Unzip the export. It holds images/, labels/, classes.txt and notes.json for the tiles with a submitted annotation. Add a file named data.yaml next to images/ and labels/:
Then check the dataset.